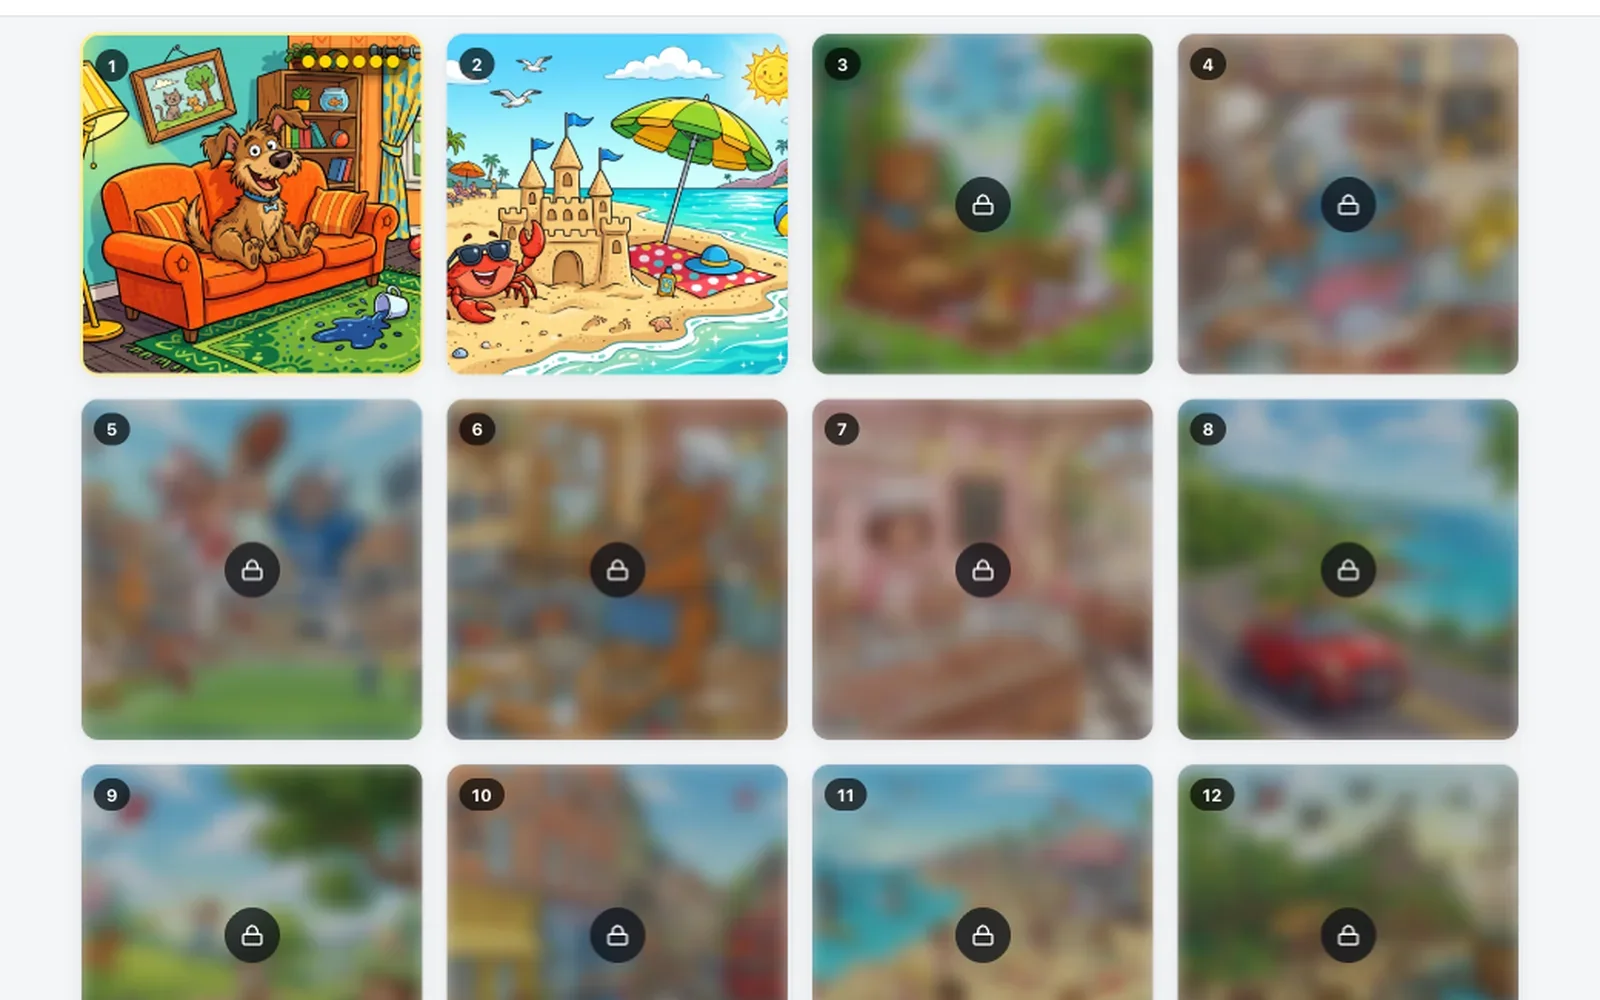
Anyone with an account can make their own puzzles and publish them for everyone else to play. We've mentioned the editor in a few posts now without ever explaining it properly, so here's the whole thing, from an empty pack to a published level. It works the same on the website and in the app.
You can use the AI tools built into the editor, or bring your own pictures. Both are covered below.
Start with a pack
Every level lives in a pack, which is a collection of levels with a shared title and theme. Tap Create pack on the home page and give it a title. Short and clear works best, something like "Rainy Day Café" or "Space Station Kitchen".
Then write the description, and don't rush this part. If you use the AI tools, the title and description are applied to every image in the pack. So this is where you describe the style, the setting, recurring characters, and the mood. Do it once properly and all your levels will look like they belong together. Something like this:
"Watercolor illustrations of a small seaside town in the 1950s. Warm colors, soft light, friendly characters, lots of small everyday objects."
You can also add a reference image, generated from the description or uploaded. The AI gets it as an example of the style, which helps keep characters and look consistent. New images can end up following it quite closely, though. If that's too much, you can switch it off later.
The first picture
Open a new level. You'll see two slots next to each other: the source image on the left and the comparison image on the right.
For the source image you can describe what should be in it, and the editor generates it in your pack's style. The default format is 4:3, which fits the game screen well. Or you upload a photo or something you made elsewhere, as long as you're allowed to use it.
Either way, go for a scene with lots of clearly recognizable things in it. A desk, a kitchen, a market stall, a garden. We wrote about why in what makes a good spot-the-difference puzzle.
The second picture
Now the version with the changes. Again, you can generate or upload.
When you generate it, the editor starts from your source image and applies the changes you describe. The default is simply "Change 10 things", and the AI picks what to change. That works, but you'll get much better levels if you say exactly what you want:
"Make the teapot red, remove the second cup, add a small bird on the windowsill, change the clock to show a different time, and add a stripe to the tablecloth. Keep everything else exactly the same."
There are a lot more examples in writing prompts for puzzle images.
If you'd rather make your images in another app, like Gemini or ChatGPT, that works too. Ask for the first picture in 4:3. Then, in the same chat, describe only the changes and add "keep the rest unchanged". Download both and upload them into the two slots. They need to have exactly the same size in pixels. The editor tells you if they don't, because different sizes make the comparison useless.
Let the editor find the differences
As soon as both pictures are in, the editor compares them and marks everything that changed. You don't have to draw the markers yourself.
It's deliberately a bit forgiving. Shifts of a pixel or two are ignored, tiny specks are thrown out, and changes that are close together become one marker. If it finds too much or too little, you can adjust the threshold.
If the editor says the images are very different, check that you uploaded the right pair. Two pictures that were generated separately will never become a fair puzzle, no matter how similar they look.
Clean up
Please don't skip this. AI-edited pictures almost always have small changes you didn't ask for. A slightly different texture, a shadow that moved, a pattern that got redrawn. Players will tap those and be told they're wrong, even though something did change.
You can select an area and let the AI edit only that part, for example "Make the cup blue", with a mask if you want to be sure nothing around it changes. If something changed that shouldn't have, copy that area back from the other picture.
The tool we use most is Apply everything outside the differences. It copies every pixel outside your markers from one picture to the other, so afterwards they only differ where you've marked something. There's a longer explanation in cleaning up the differences nobody asked for.
Check the markers
Go through them once more. Can you really see each difference, or is it just a slight texture change? Does the marker cover the whole object with a bit of room, so a tap on the edge still counts? And is the number right? Five to ten works for most scenes. The editor allows up to 30, but we've never seen a level with 30 differences that was fun.
You can move, resize, reshape, or delete markers. Before saving, a review dialog shows you each marker on both pictures side by side.
Publish
Once your pack has a few levels, you can publish it, and it shows up in the community section for everyone. You'll be asked to agree to the community rules first. Depending on how moderation is set up at the time, our team may look at a pack before it goes live.
After that you can see how people rate your pack and how many have played it. The comments are often the most useful part.
One more thing. Get someone else to play your level before you publish. You know where the differences are, so you honestly can't tell how hard it is. And keep the first level of a pack easy. Levels unlock one after another, so the first one decides whether people keep going.
The Create pack button is on the home page.